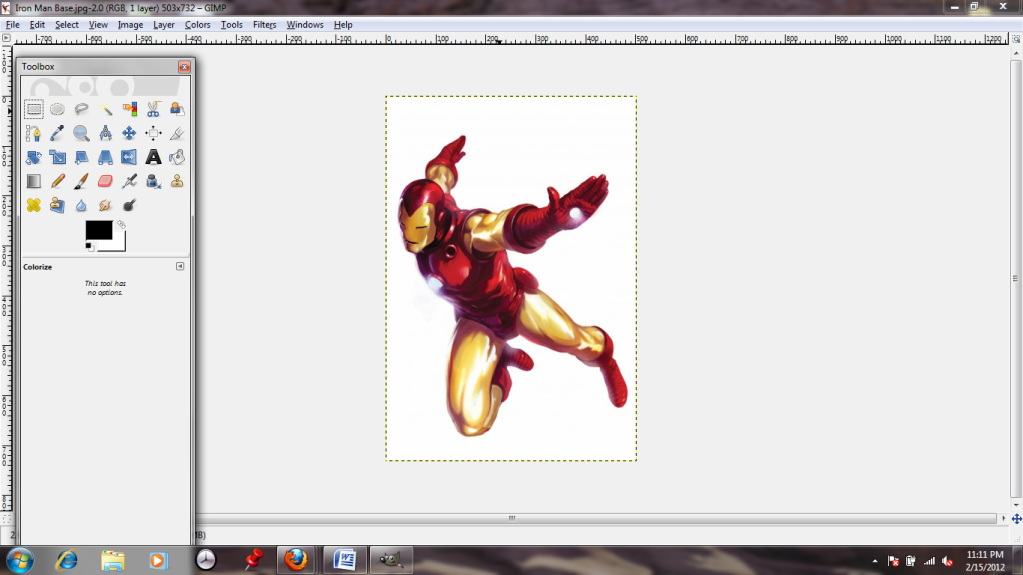
Here is Iron Man, looking just as he should. Very subtle, guy.
Not for long, though! I don't want to just paint over him, because that would be annoying and I have no artistic talent. If I did, I could draw my own darn superheroes.
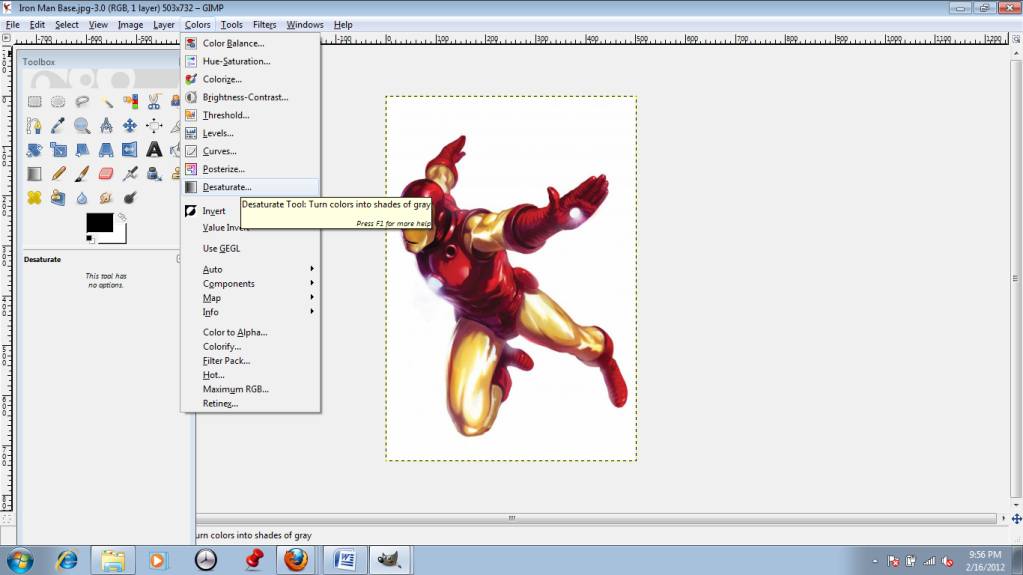
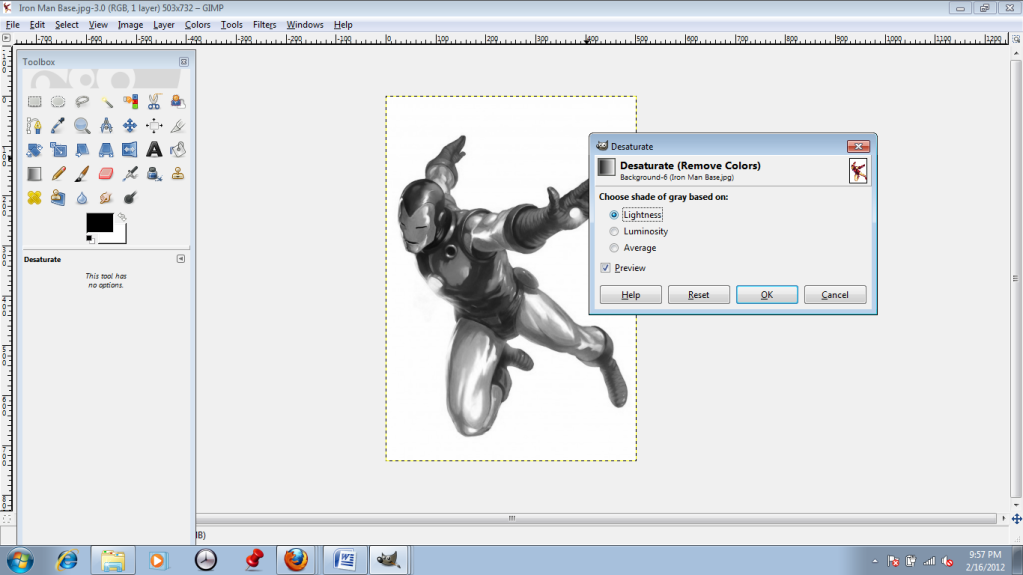
Instead, I'm going to desaturate him (turn the image black and white.) This option is located in the "Color" menu.
There are a few ways that GIMP can map the black and white; I choose to go with the Lightness option because it looks nice and sharp, and I don't want too much grey to interfere with the colors I put in later on.
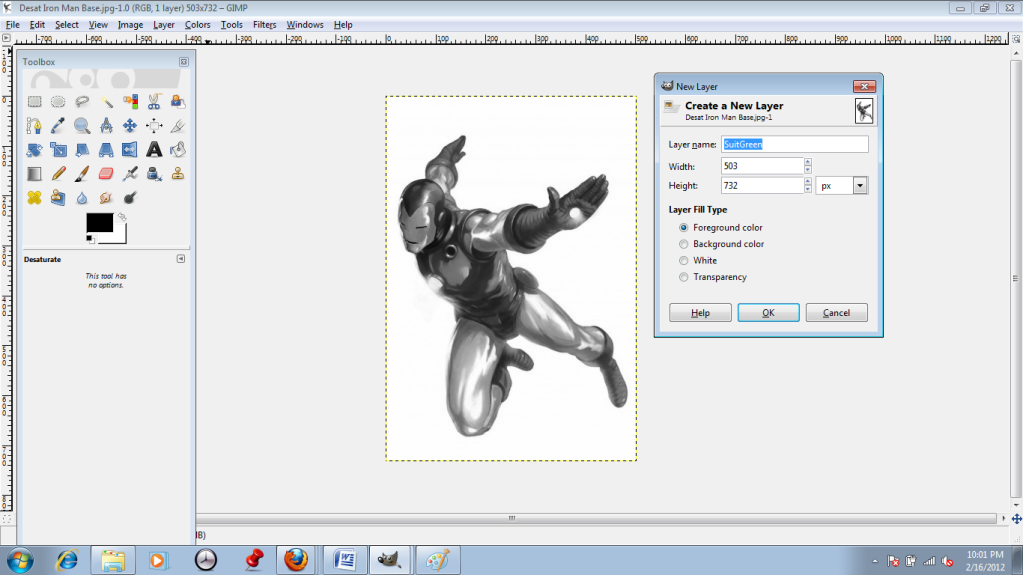
I want to change the image by adding three new colors, so I'll be adding three new layers. I give them appropriate names so I can remember which I'm messing with.
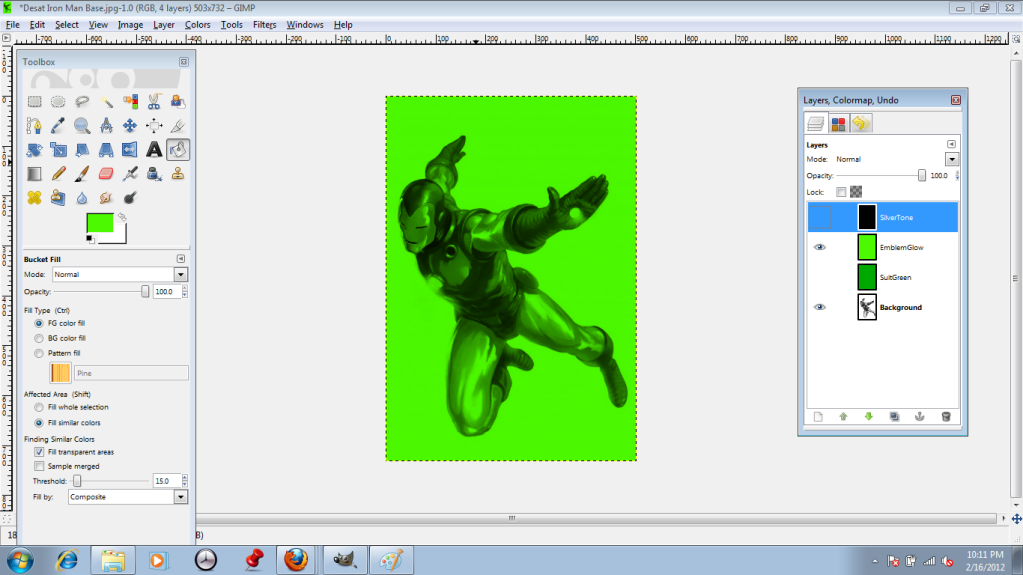
Yeah, that dead black emptiness, like the uncaring void of space? That's not what I want to see. I switch all of the layers over to the "Multiply" setting.
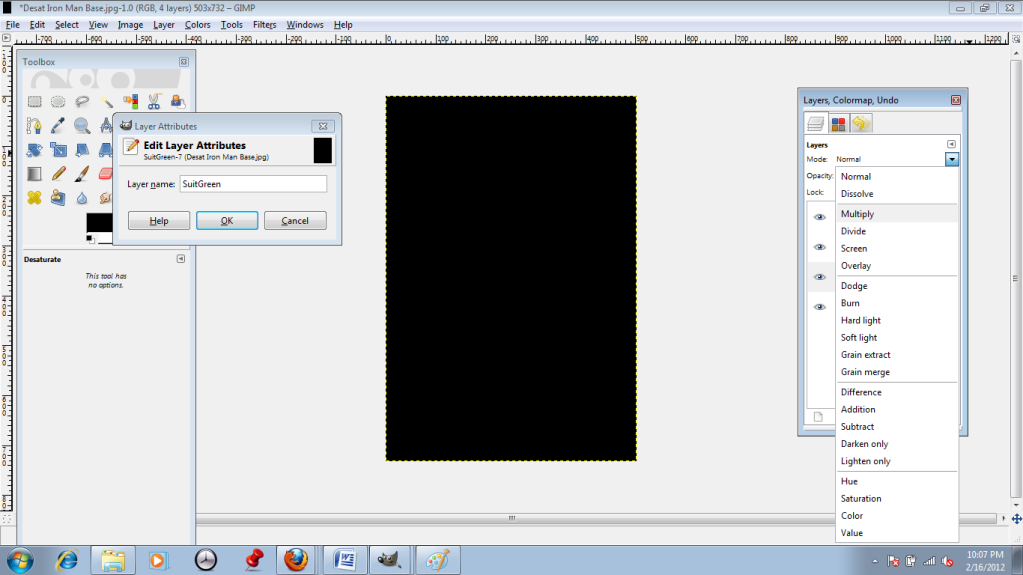
I also click on the little eyeball icons so that I can work on one layer at a time.

On "Multiply" the layers are kind of like sheets of colored cellophane laid over the image; they add color but are transparent. Obviously this doesn't help when they're black, but once I pick a bright green...
I don't want the whole image to be green, so I apply a "Layer Mask" to each layer. This option is located 8 down in the "Layers" menu. I go with the Full Transparency option, which lets me choose exactly where I want the color to show up.
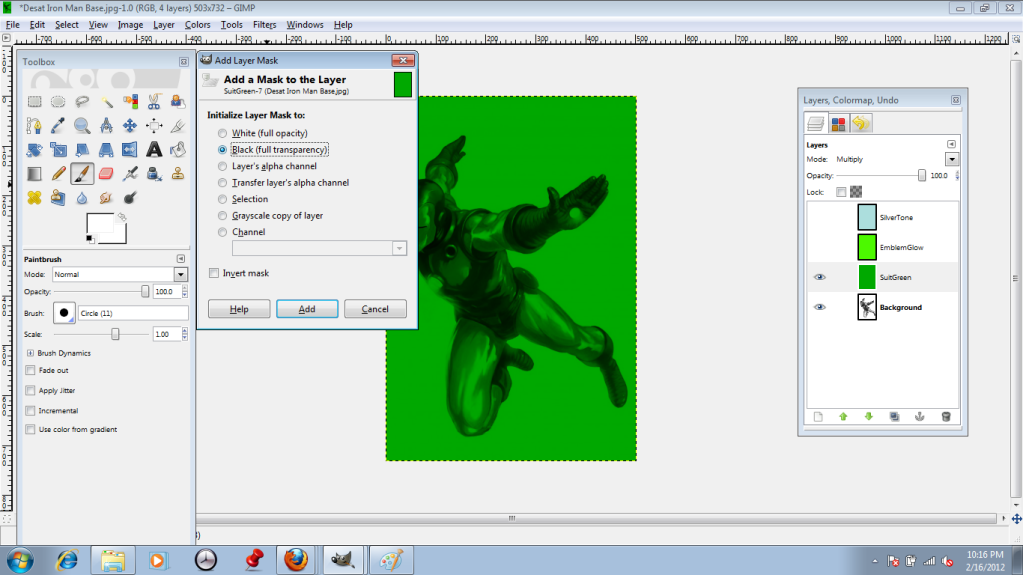
The layer mask is represented by the black box off to the right side of the layer icon (See below)
When using the layer mask, parts I paint with a "white" paintbrush show up, while parts I paint in "black" stay nice and invisible. I start out by using the bucket fill in black on the whole mask...
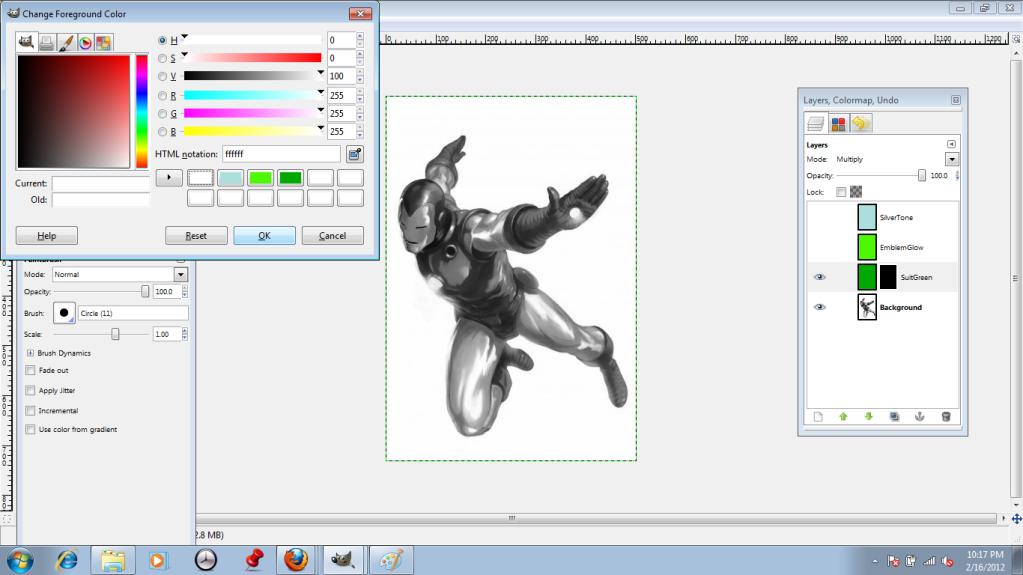
...and then paint in my chosen regions in "white."

Ooops! I went outside the lines!
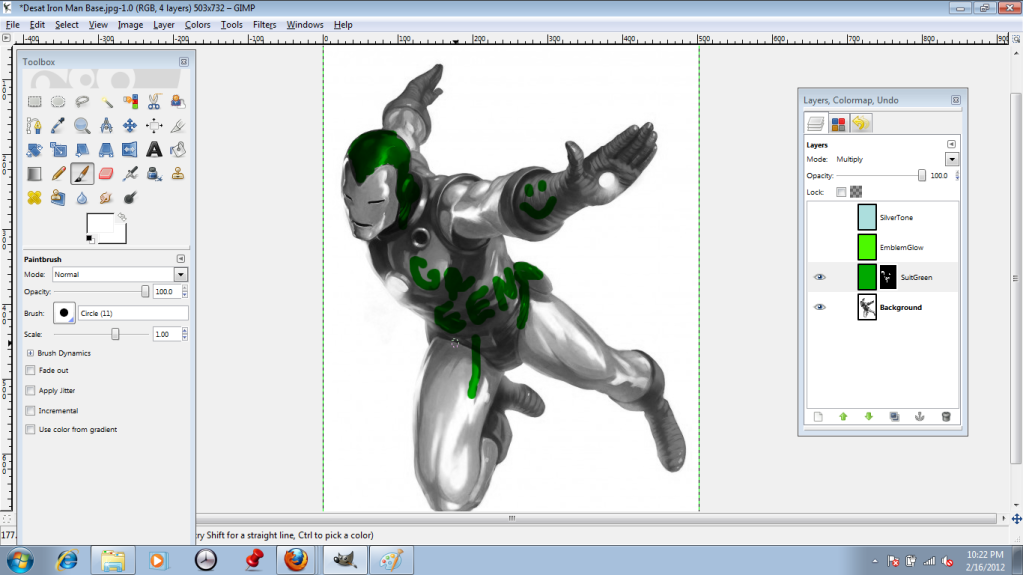
Not to worry, though--I can just switch back to the black brush to fix it.
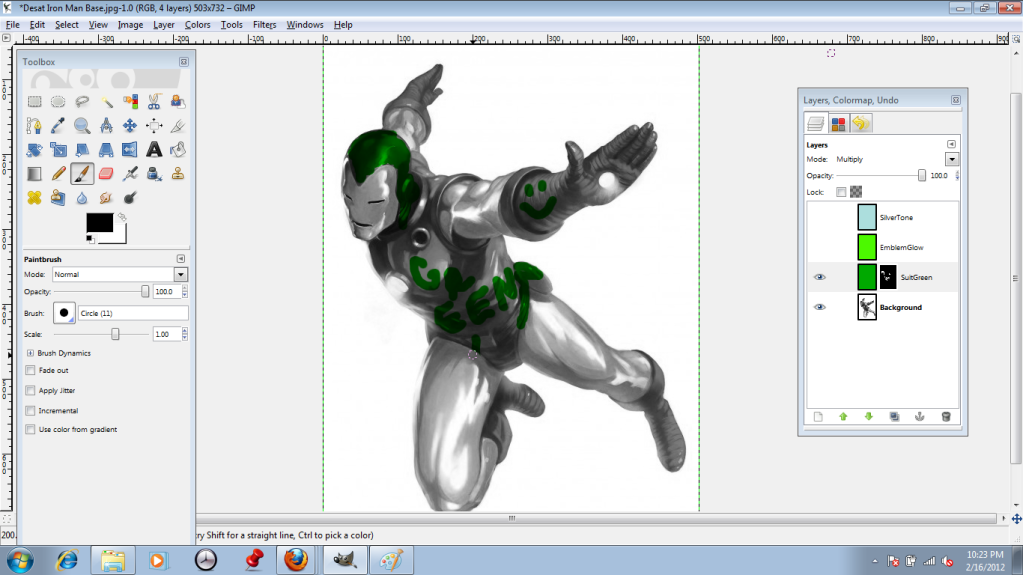
I repeat the process with each layer, getting it all juuuust right.
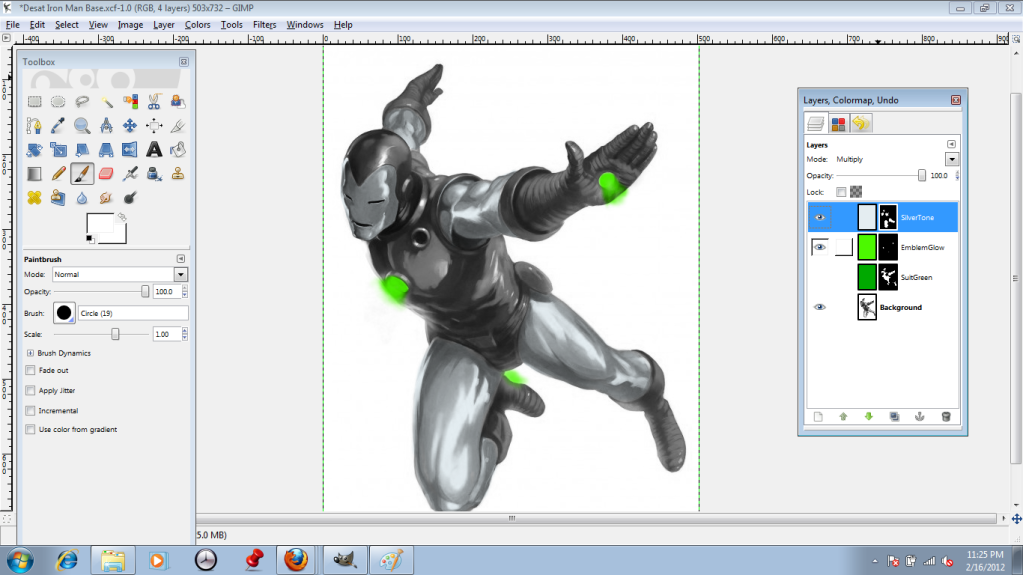
Finally, I use the eye icons to reveal each layer. Silvery-blue:

Glowing green... (This one involved a lot of playing around with brushes and opacity, so I could get those nice fuzzy areas. More on brushes later.)
And enamel green!
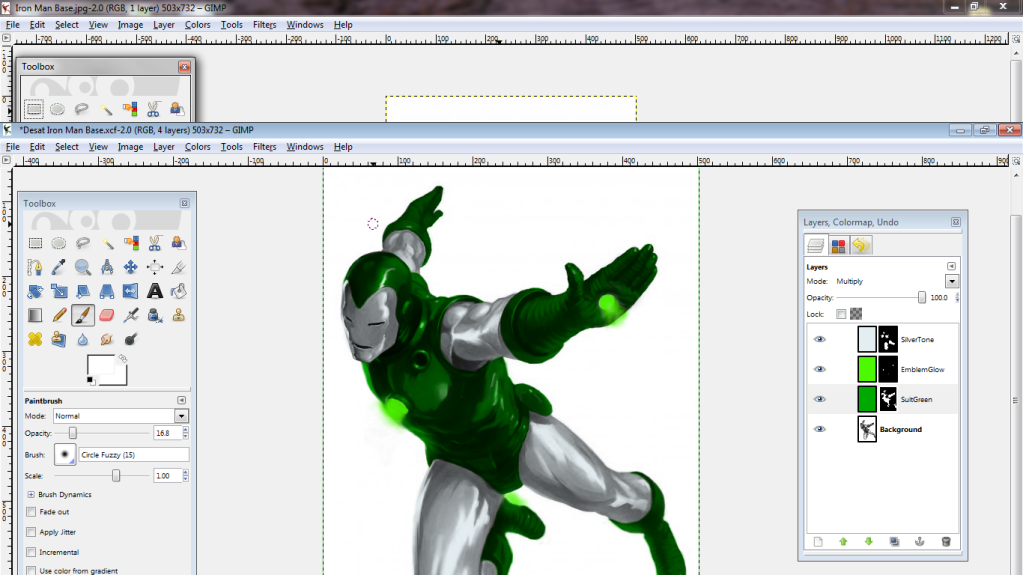
I save it as an .xcf file, which preserves the layers so I can play around with it more later. (Beware, Iron Lantern. I haven't finished with you yet!)
If I wanted to, say, print it out, I would save it as a .jpg or some other format which flattens the layers down.
No comments:
Post a Comment