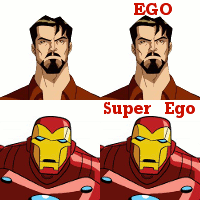
This week, I just wanted to do something fun. Meet Tony, a character from (among other things) the cartoon The Avengers: Earth's Mightiest Heroes:
He's a bit arrogant, but I suppose being a genius alcoholic billionaire philanthropist will do that to a person. His alternate identity doesn't help much, either.
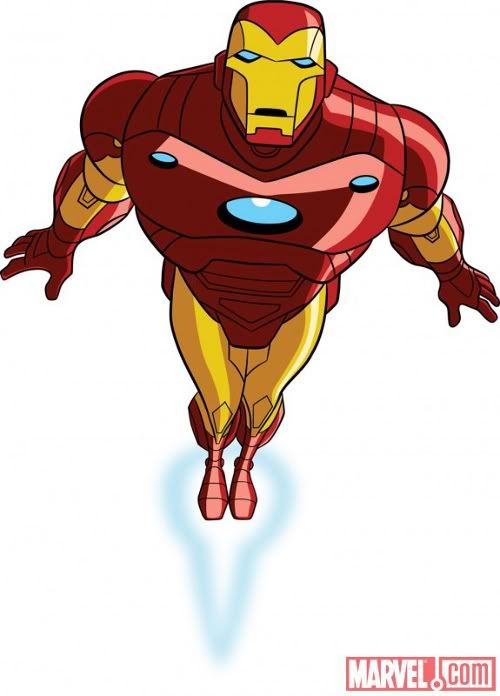 |
| Seriously, I'd be flat-out megalomaniacal if I had access to a rocket suit. |
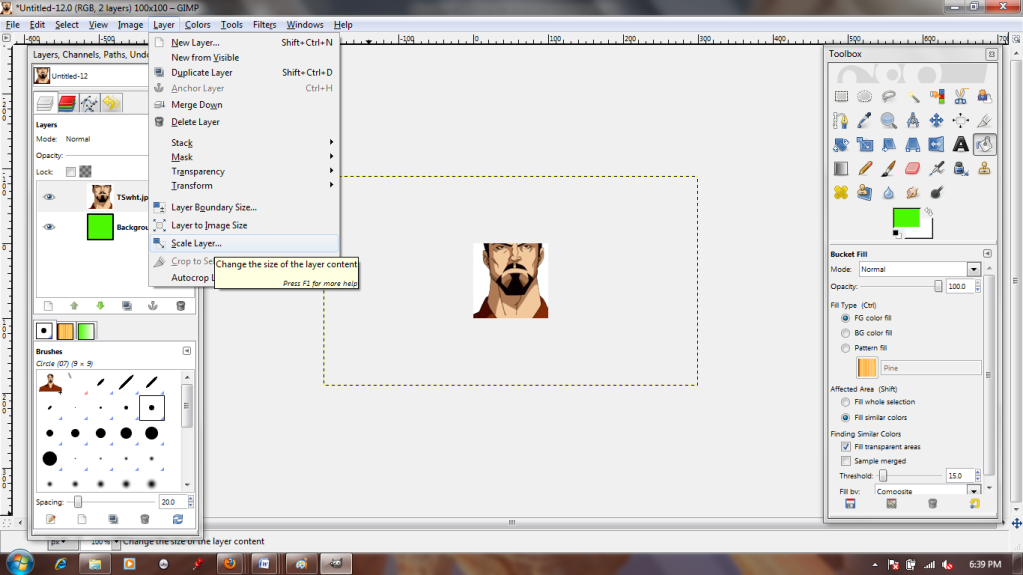
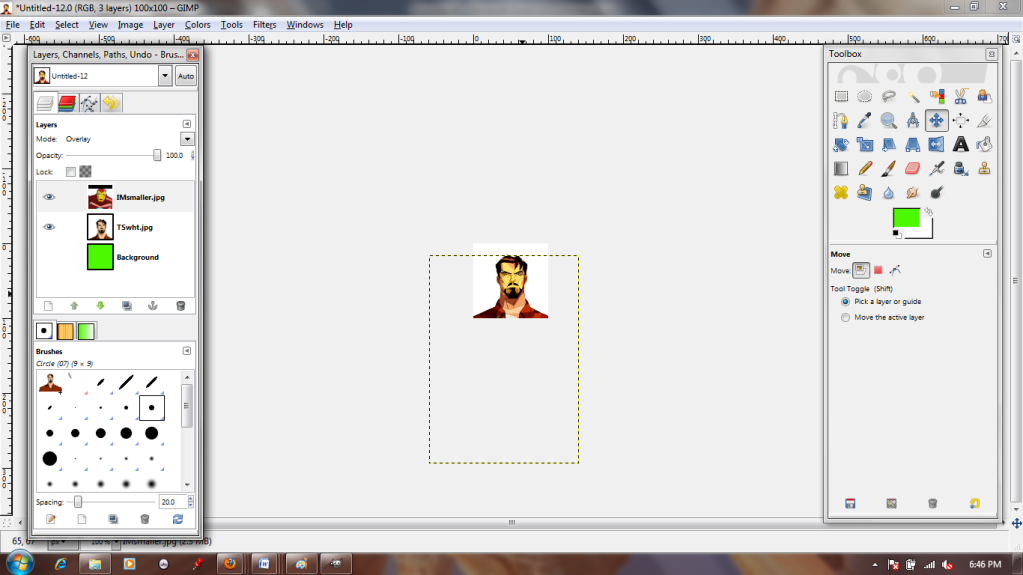
Icons are pretty small, so I start by making a 100x100 pixel New Canvas and pasting Tony on top as a new layer.
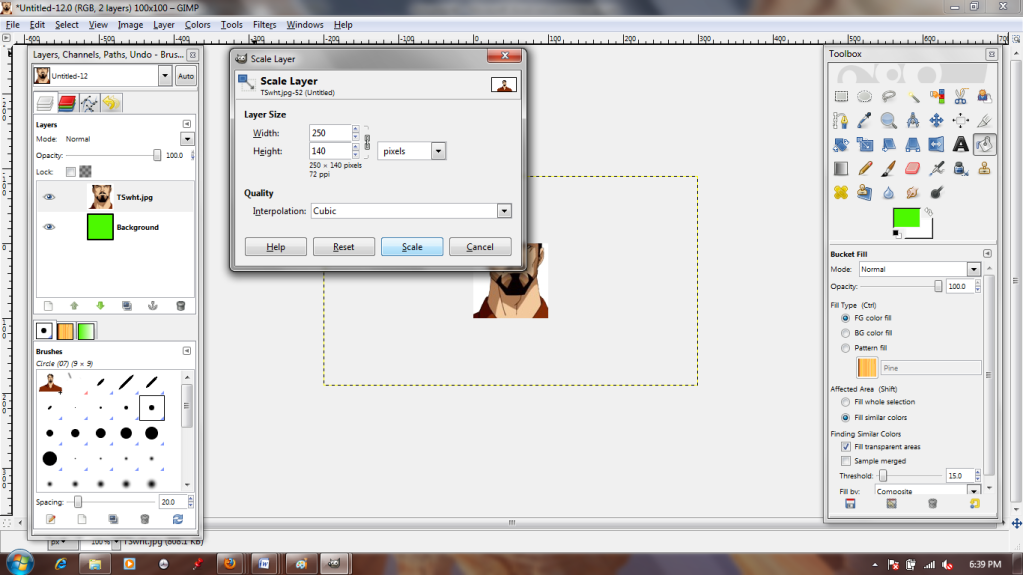
Oof! He looks a bit cramped, doesn't he? The Scale Layer tool will fix that, though.
You'll notice that I'm basically just eyeballing how much I shrink the image; I just want it smaller, and I can toggle it up and down with this tool until I get a result I like. The little chain between the two numbers in the dialogue box means they're "linked"; in other words, the X and Y axes remain proportionate. This prevents the image from distorting as it shrinks or grows.
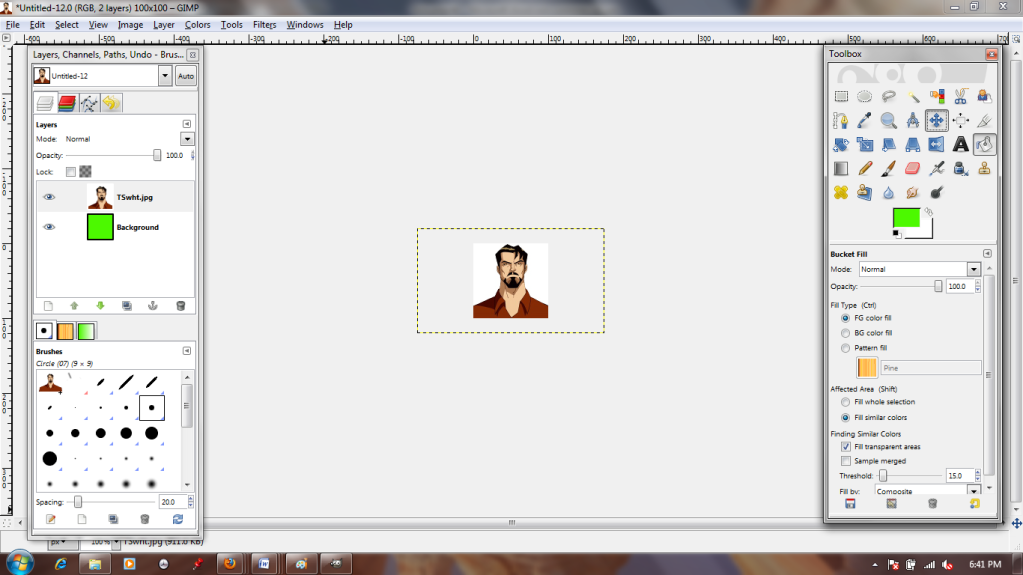
He fits pretty nicely now. The Move tool lets me scooch the layer around until I like how he's framed. The parts of the image that hang off the visible canvas are not a problem, so I'm going to ignore them for now.
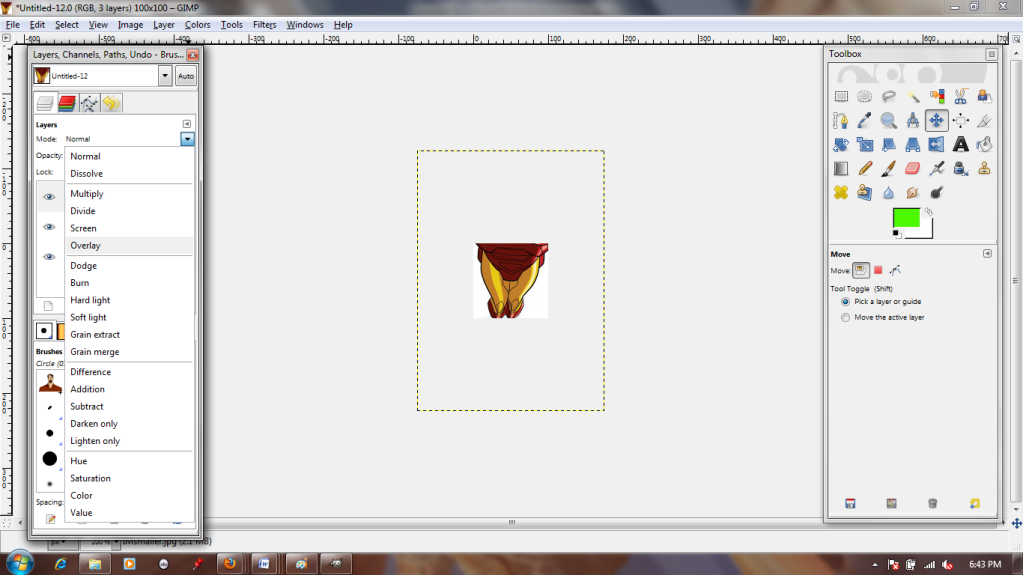
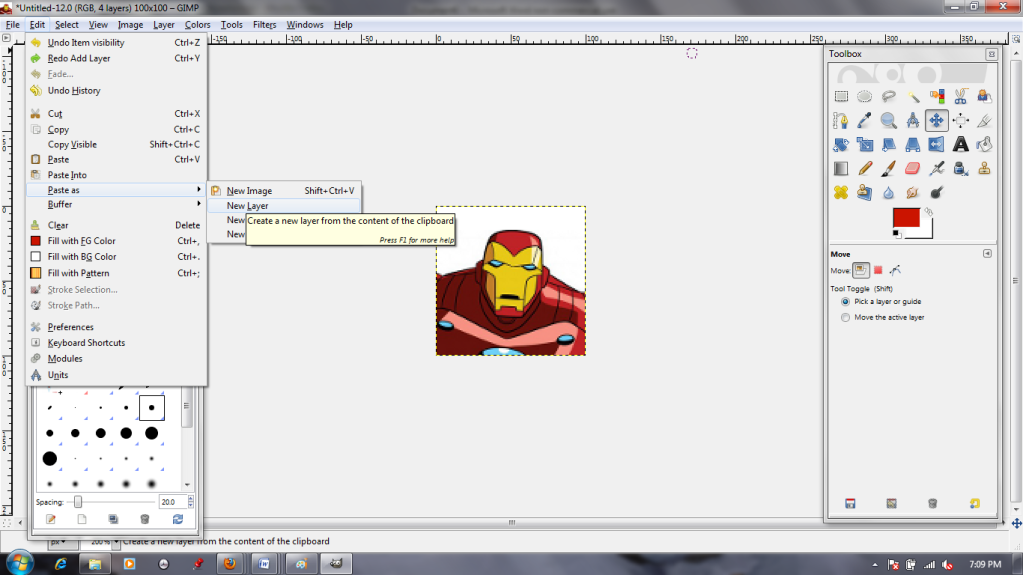
Next, I repeat the process by pasting in my image of the Iron Man suit as a new layer. I'm going to have to resize it, but more importantly, I want to position it correctly.
I do this by changing the layer type to "Overlay." This allows me to see the lower layer through the one I'm manipulating. I can just match the mask of the suit up with Tony's face! Afterward, I set it back to "Normal," which returns it to full opacity.
I copy my Tony layer and my Iron man layer so that there are two of each, one on top of the other (4 layers total).
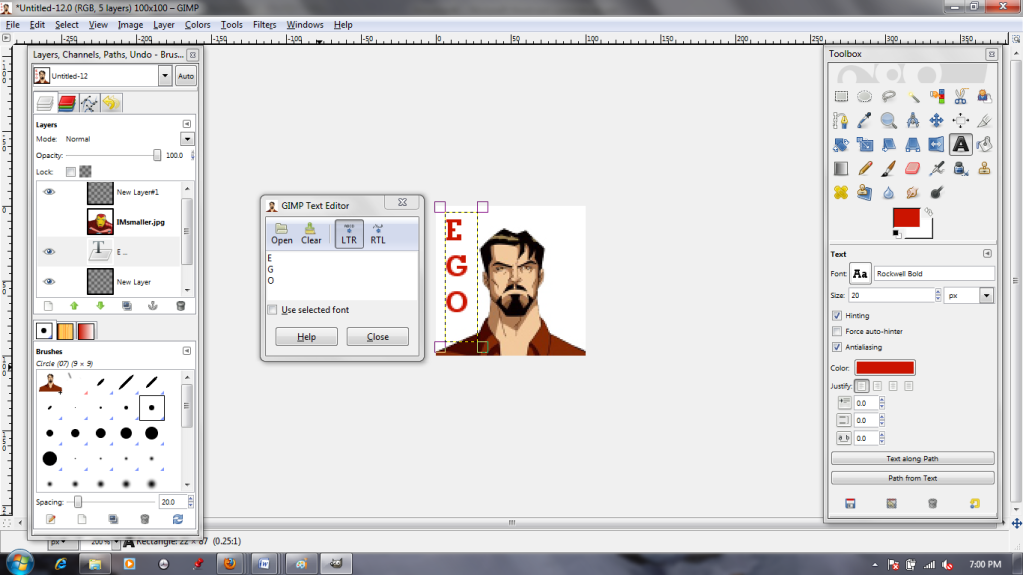
Then I click the eyeball to make Iron Man (men?) invisible. The Text tool lets me type text in as a new layer. I can choose font, color, size, move it around, whatever. After I'm satisfied with my Tony text, I give Iron man a caption as well.
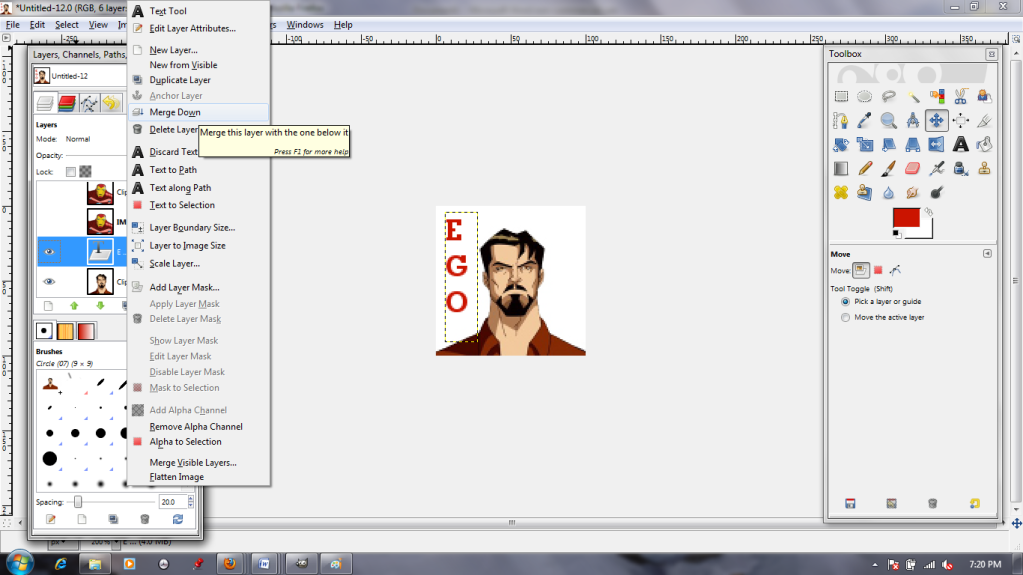
Okay, this is important: You need the text layers to be directly above the image layers to which they belong, because in the next step...
You select the text layer and use the "Merge Down" command. This makes the text PART OF the image. You don't want it merging into the wrong layer! I do this for both pieces of text. I can't just leave the text as separate layers because I'm making an animation; .GIFs read each layer as a separate frame, so the text and image need to be smooshed together in order to be visible at the same time.
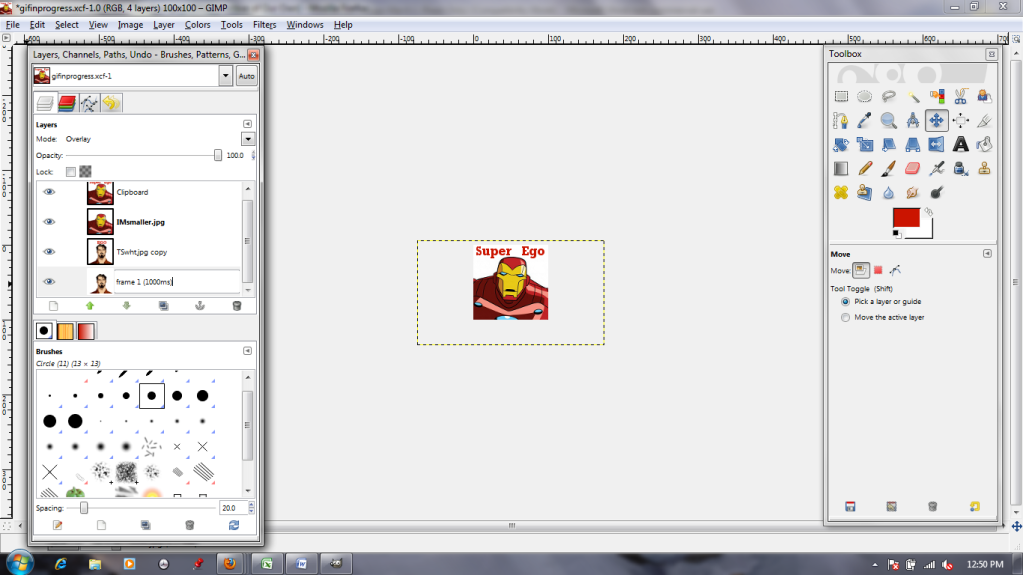
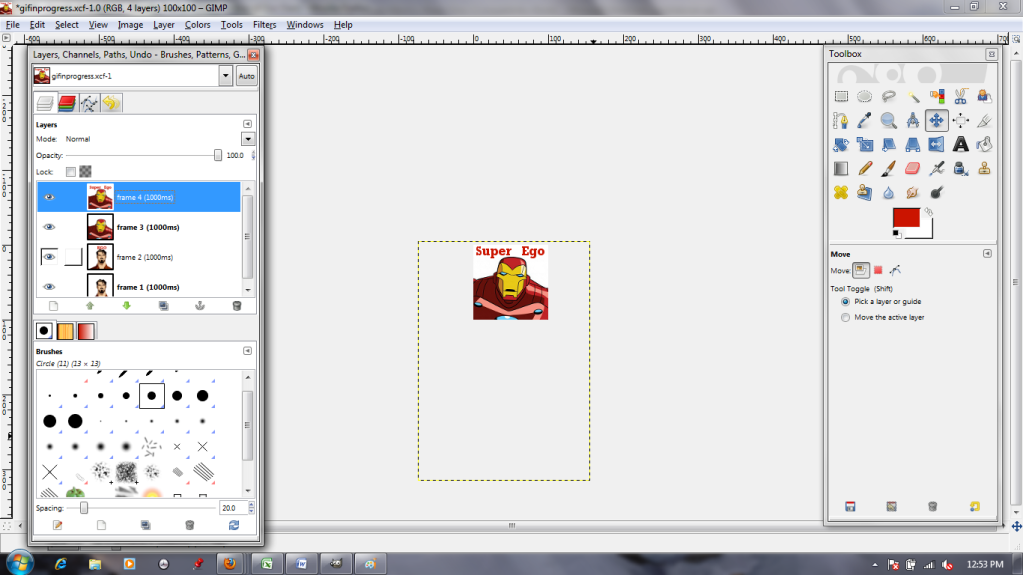
Next, I'm going to begin changing the layers' names. I call the bottom one "frame 1 (1000ms)" because it's the first frame I want to see, and I think I want to see it for about 1000 milliseconds (1 second). When renaming, double-click the name, type the new one in, and then HIT ENTER to make sure it sticks.
This goes for all four layers.
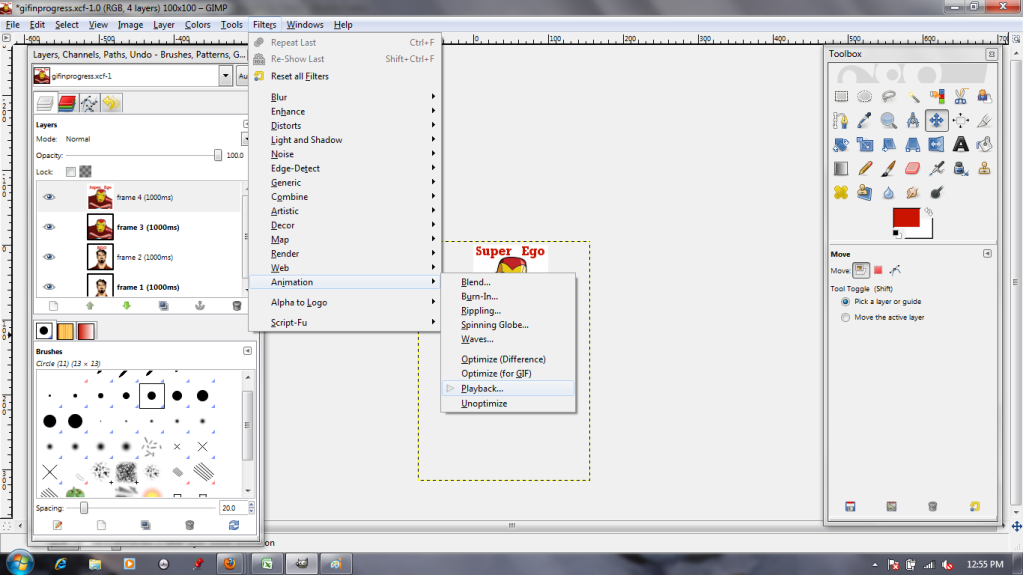
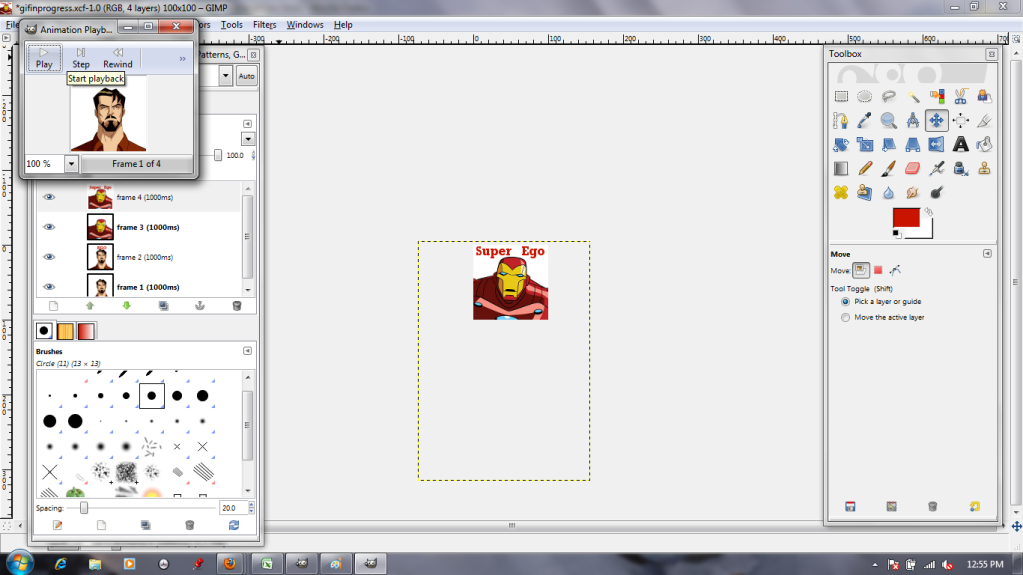
Now I need to test and see if I like how it looks. The "Animation Playback" in the Filters menu lets me do so.
I hit play...
...And don't like it. It's too slow.
Well. I'll just change the layer names to "frame X (100ms)"! That will be faster!
SEIZURE WARNING (ABOVE)
Too fast! Too fast!
Finally, I settle on alternating 500ms text-free layers and 1000ms text-added layers.
Looking good! (And he knows it, the self-satisfied jerk.) Now, to save it as a .gif.
Name it whatever you want, but change the file extension (top orange box) from GIMP's normal .xcf to .gif.
The next dialogue box will come up with a "Flatten" option autoselected. WE DO NOT WANT THAT, because it smooshes all the layers down into a single static image. Instead, select the "Save as Animation" option.
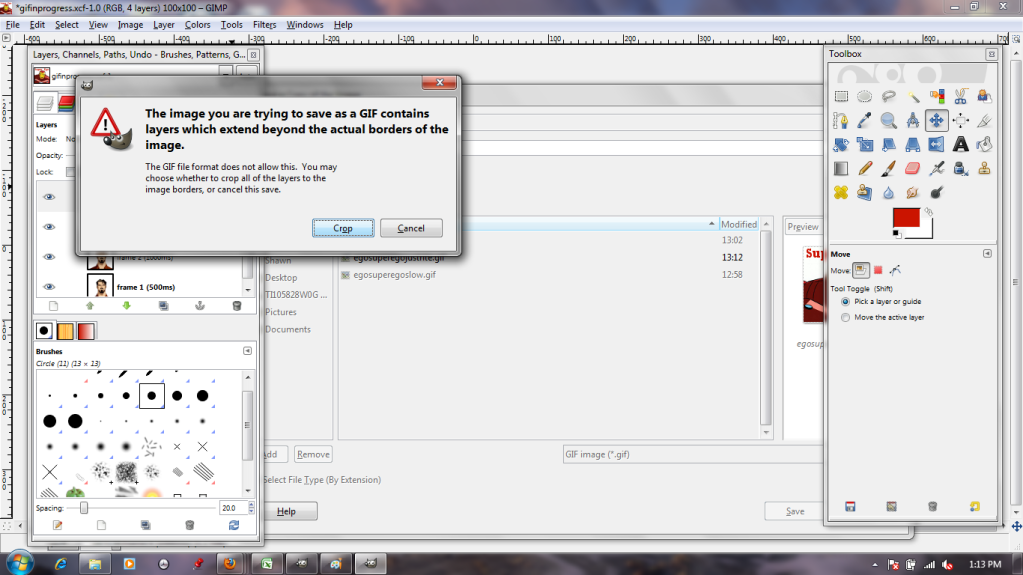
Remember those extra, hanging-off bits of the images? The ones we ignored earlier? This dialogue box is where those get dealt with. By selecting "Crop," we chop off the invisible excess, reducing the images to the canvas size just like that!
And there you have it: an easy four-frame animation.

